
Introduction
Artificial Intelligence (AI) image classifiers have become one of the most practical and exciting applications of machine learning. They power technologies we use daily, from Google Photos’ ability to recognize faces to medical tools that detect tumors in X-rays. For beginners, the journey into image classification can feel overwhelming, there are countless frameworks, datasets, and coding approaches to choose from. This guide is designed to make that journey approachable, structured, and practical. This beginner’s guide walks you through how to train an image classifier, starting with the basics of datasets and preprocessing, followed by building convolutional neural networks (CNNs) in TensorFlow and PyTorch. You’ll learn to evaluate models, avoid pitfalls like overfitting, and practice with hands-on code using MNIST and Fashion-MNIST. By the end, you’ll have a working image classifier and the knowledge to explore advanced methods like transfer learning.
Table of Contents
1. What Is Image Classification?How to train AI image classifier
Image classification is the process of teaching a machine to recognize and categorize images into predefined classes. For example, a model could learn to identify whether a photo contains a cat or a dog. At its core, the system looks for visual patterns (like edges, colors, or textures) and uses statistical learning to match them with known categories.
In the simplest terms: You show a computer many labeled images, it learns patterns, and then predicts labels for new image
2. Why Image Classification Matters
Image classification isn’t just academic, it drives innovation in industries like:
- Healthcare: Detecting tumors in MRI scans.
- Retail: Recognizing products for automated checkout.
- Agriculture: Identifying crop diseases using drone imagery
- Autonomous Vehicles: Detecting road signs and pedestrians.
For beginners, starting with image classification provides a gateway into computer vision, making it a foundational skill for broader AI and deep learning projects.
3. Core Concepts and Terminology
Before diving into coding, let’s clarify some key terms:
- Dataset: A collection of labeled images used for training and testing.
- Training Set / Test Set: Training teaches the model; testing evaluates it.
- Epoch: One full pass through the training dataset.
- Convolutional Neural Network (CNN): A type of deep learning architecture designed specifically for image data.
- Accuracy, Precision, Recall, F1 Score: Metrics used to measure model performance.
- Overfitting: When the model memorizes the training data instead of generalizing.
- Underfitting: When the model is too simple and fails to learn patterns.

4. Popular Tools and Frameworks (TensorFlow vs. PyTorch)
Two of the most widely used frameworks for training image classifiers are TensorFlow and PyTorch.
- TensorFlow (with Keras API):
- Pros: Beginner-friendly, lots of tutorials, widely used in production.
- Cons: Slightly more complex syntax than PyTorch.
- PyTorch:
- Pros: Flexible, intuitive for researchers, strong community support.
Keras with Tensor Flow is an excellent starting point, while PyTorch is ideal for those who want more control and flexibility.
5. Step-by-Step Guide: How to Train an Image Classifier
Step 1: Setting Up Your Environment
- Install Python (3.8+ recommended).
- Install libraries:
TensorFlow,PyTorch,Keras,scikit-learn, andmatplotlib. - Recommended tools: Google Colab or Jupyter Notebook for coding and GPU support.
Step 2: Choosing a Dataset
Start small. Popular beginner-friendly datasets:
- MNIST: Handwritten digits (0–9).
- Fashion-MNIST: Clothing items.
- CIFAR-10: Small images of objects like cars, planes, and animals.
Step 3: Preprocessing Data
- Normalize pixel values (0–255 → 0–1).
- Resize images if necessary.
- One-hot encode labels (convert categories into numeric arrays).
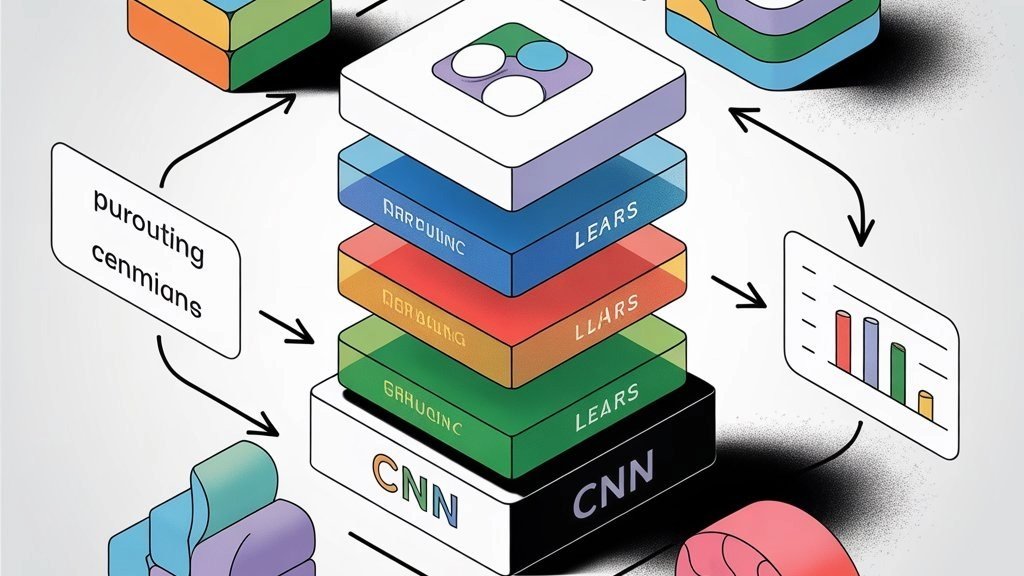
Step 4: Building Your Model (CNN Basics)
A typical CNN includes:
- Convolutional Layers: Extract features from images.
- Pooling Layers: Reduce dimensionality while retaining features.
- Fully Connected Layers: Make final predictions.
- Activation Functions (ReLU, Softmax): Add non-linearity and probabilities.
Step 5: Training the Model
- Choose an optimizer (Adam, SGD).
- Define a loss function (cross-entropy for classification).
- Run training for multiple epochs.
Step 6: Evaluating Performance
- Use accuracy for simple datasets.
- Apply confusion matrices for deeper insights.
- Check precision, recall, F1 score when dealing with imbalanced datasets.
Step 7: Improving Accuracy
- Data augmentation (rotation, flipping, zoom).
- Dropout layers (reduce overfitting).
- Hyperparameter tuning (learning rate, batch size).
6. Beginner-Friendly Datasets best dataset for beginners,
- MNIST: Small, grayscale, very fast to train.
- Fashion-MNIST: Slightly harder, more realistic.
- CIFAR-10: More complex, 10 classes of colorful images.
- ImageNet (Advanced): Large-scale dataset for real-world challenges.
For this guide, we’ll focus on MNIST and Fashion-MNIST as practical teaching datasets.
7. Common Challenges and How to Solve Them
Overfitting and Underfitting
- Overfitting: Model performs well on training but poorly on new data.
- Solution: Add dropout layers, use regularization, expand dataset.
- Underfitting: Model fails to capture complexity.
- Solution: Add more layers/neurons, train longer, adjust learning rate.
Class Imbalance
When some classes have fewer images.
- Solution: Oversampling, class weighting, or synthetic data (SMOTE).
Computational Limitations
- Solution: Use cloud GPUs (Google Colab, AWS, Azure).
- Start with smaller datasets and architectures.
8. Hands-On Code Examples
Here’s a TensorFlow + Keras example using MNIST:
import tensorflow as tf
from tensorflow.keras import datasets, layers, models

# Load dataset
(train_images, train_labels), (test_images, test_labels) = datasets.mnist.load_data()

# Preprocess
train_images = train_images.reshape((60000, 28, 28, 1)).astype('float32') / 255
test_images = test_images.reshape((10000, 28, 28, 1)).astype('float32') / 255

# Build model
model = models.Sequential([
    layers.Conv2D(32, (3,3), activation='relu', input_shape=(28,28,1)),
    layers.MaxPooling2D((2,2)),
    layers.Conv2D(64, (3,3), activation='relu'),
    layers.MaxPooling2D((2,2)),
    layers.Flatten(),
    layers.Dense(64, activation='relu'),
    layers.Dense(10, activation='softmax')
])

# Compile & Train
model.compile(optimizer='adam', loss='sparse_categorical_crossentropy', metrics=['accuracy'])
model.fit(train_images, train_labels, epochs=5, validation_data=(test_images, test_labels))
This example can achieve >98% accuracy on MNIST.
PyTorch Example (MNIST)
| Section | Code | Short note |
|---|---|---|
| Imports | | Essential PyTorch & torchvision imports for building datasets, models, and training loops. |
| Transform | | Convert images to tensors and normalize (mean=0.5, std=0.5) — suitable for MNIST grayscale images. |
| Section | Code | Short note |
|---|---|---|
| Imports | | PyTorch & torchvision libraries for datasets, model layers, and optimization. |
| Transform | | Converts images to tensors and normalizes values (works for MNIST grayscale). |
| Dataset & Dataloader | | Loads MNIST training and test datasets with batch size 64. |
| Model | | Defines a 3-layer fully connected neural network. |
| Training Loop | | Trains the model for 3 epochs using Adam optimizer & cross-entropy loss. |
This achieves similar accuracy as TensorFlow, but with more control for customization.
| Section | Code | Short note |
|---|---|---|
| Imports | | PyTorch & torchvision libraries for datasets, model layers, and optimization. |
| Transform | | Converts images to tensors and normalizes values (works for MNIST grayscale). |
| Dataset & Dataloader | | Loads MNIST training and test datasets with batch size 64. |
| Model | | Defines a 3-layer fully connected neural network. |
| Training Loop | | Trains the model for 3 epochs using Adam optimizer & cross-entropy loss. |
| Testing / Evaluation | | Evaluates the trained model on test data and prints accuracy. |
Q1. How long does it take to train an image classifier?
Depends on dataset size and hardware. MNIST can train in minutes; ImageNet can take days.
Q2. Do I need a GPU?
Not for small datasets like MNIST, but GPUs significantly speed up training for larger datasets.
Q3. What’s the difference between TensorFlow and PyTorch?
TensorFlow (with Keras) is beginner-friendly; PyTorch offers flexibility for research.
Q4. Can I use my own dataset?
Yes, as long as you label images consistently and preprocess them.
Q5. How do I avoid overfitting?
Use data augmentation, dropout, and ensure a balanced dataset.
10. Final Thoughts and Next Steps
How to train an AI image classifier may seem daunting at first, but with the right guidance, it becomes a structured and rewarding process. Start small with MNIST or Fashion-MNIST, experiment with different architectures, and learn by iteration. As you gain confidence, move on to more complex datasets like CIFAR-10 or your own custom images.
For beginners, the most important step is hands-on practice. Don’t just read, try out the code, tweak parameters, and observe results. Every small experiment brings you closer to mastering the art of AI image classification.
What up Next:
- Explore advanced CNN architectures (ResNet, VGG, MobileNet).
- Learn transfer learning to leverage pre-trained models.
- Apply your skills to real-world datasets.
Sources:
https://www.nyckel.com/blog/image-classification
https://blog.roboflow.com/image-classification
https://www.artiba.org/blog/a-beginners-guide-to-classification-in-machine-learning
https://developers.google.com/machine-learning/practica/image-classification/preventing-overfitting
